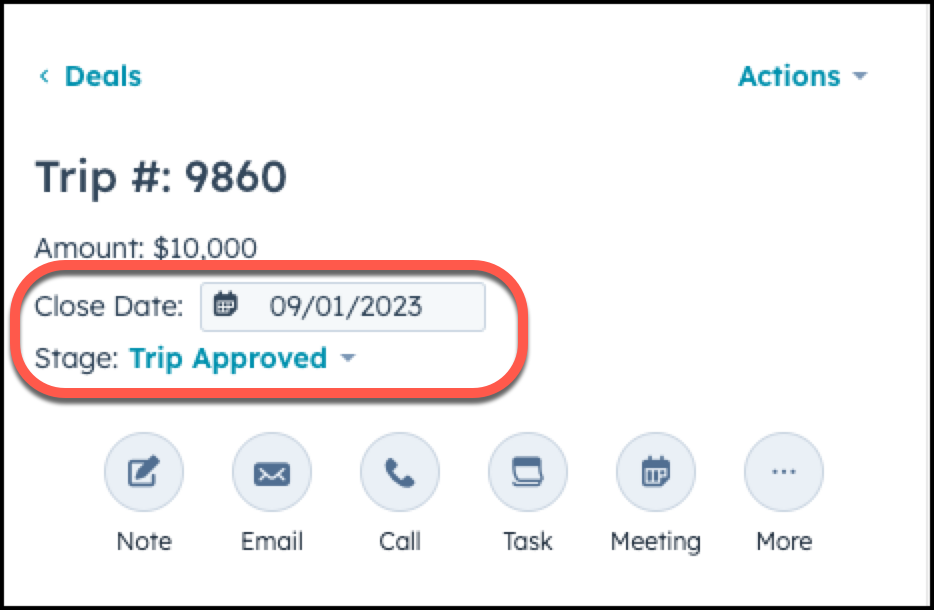
Step 1 - Check Deal Stage
The deal stage must be Trip Approved or Trip Paid In Full in order for Vendor realated tasks and activities to begin to occur. It is the responsiblity of the sales person to update the deal stage as activites occur with your trip.
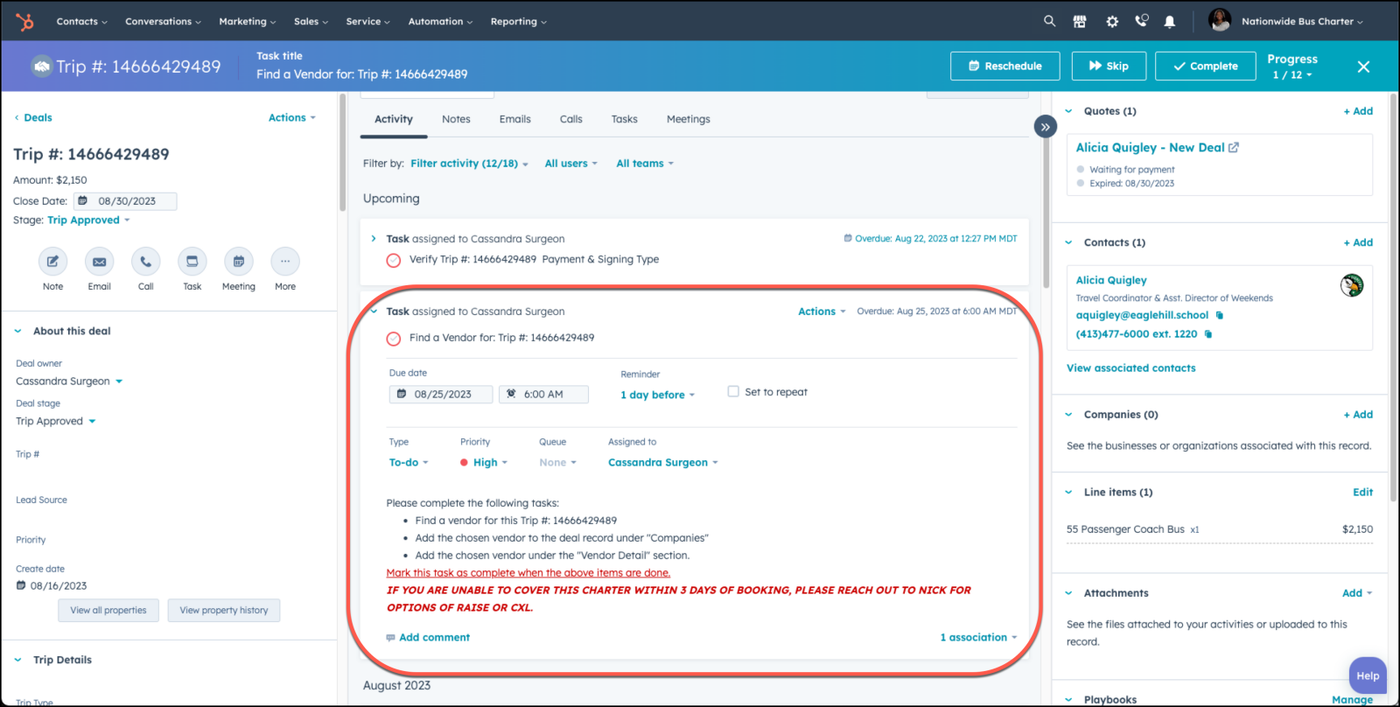
Step 2 - Review & Complete Assigned Task: Find a Vendor for Trip#XXXX
When you have your trip marked as trip approved or trip paid in full, there will be a task automatically created asking you to find a vendor for the trip, due within 3 days of the task being created. Open the task to review the steps required for you to add a vendor to your trip, which includes:
- Adding the chosen vendor under the Vendor Details section in HubSpot.
- Add a new company to the deal record on the right side of the screen, and that company needs to be the chosen vendor.
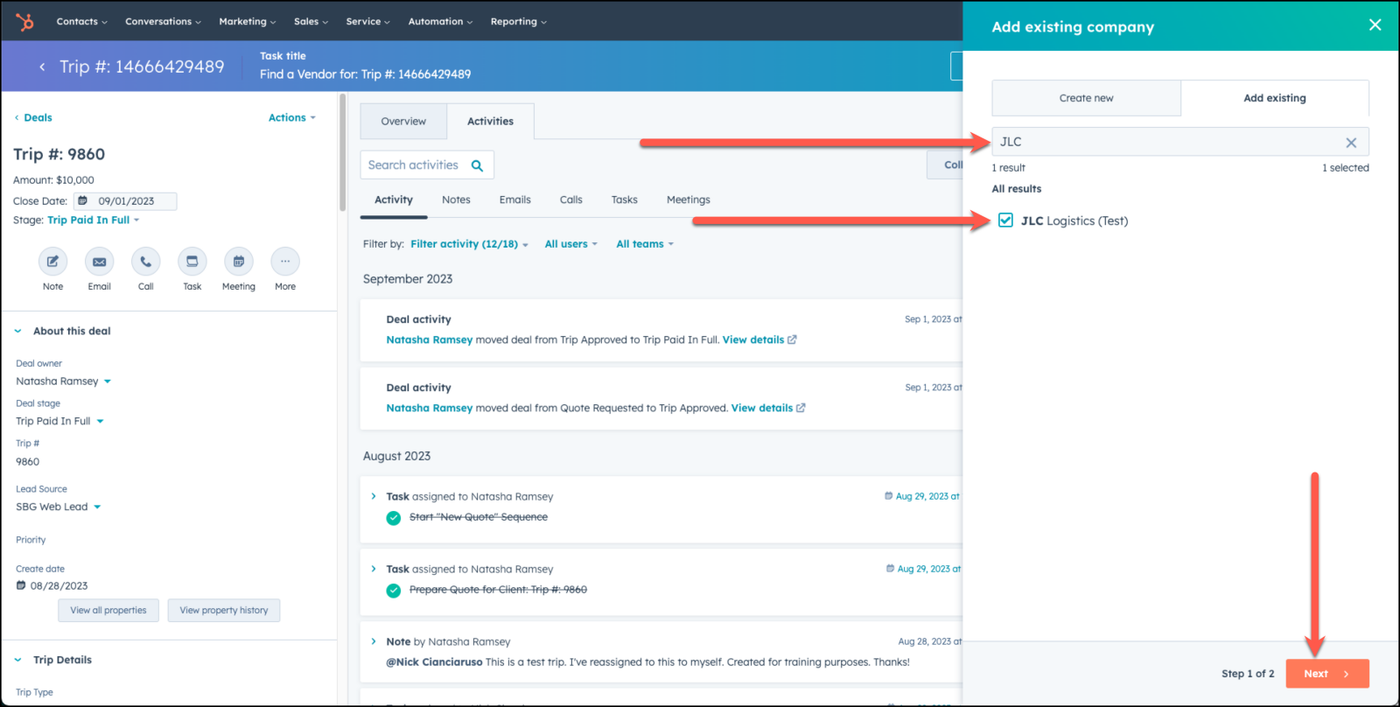
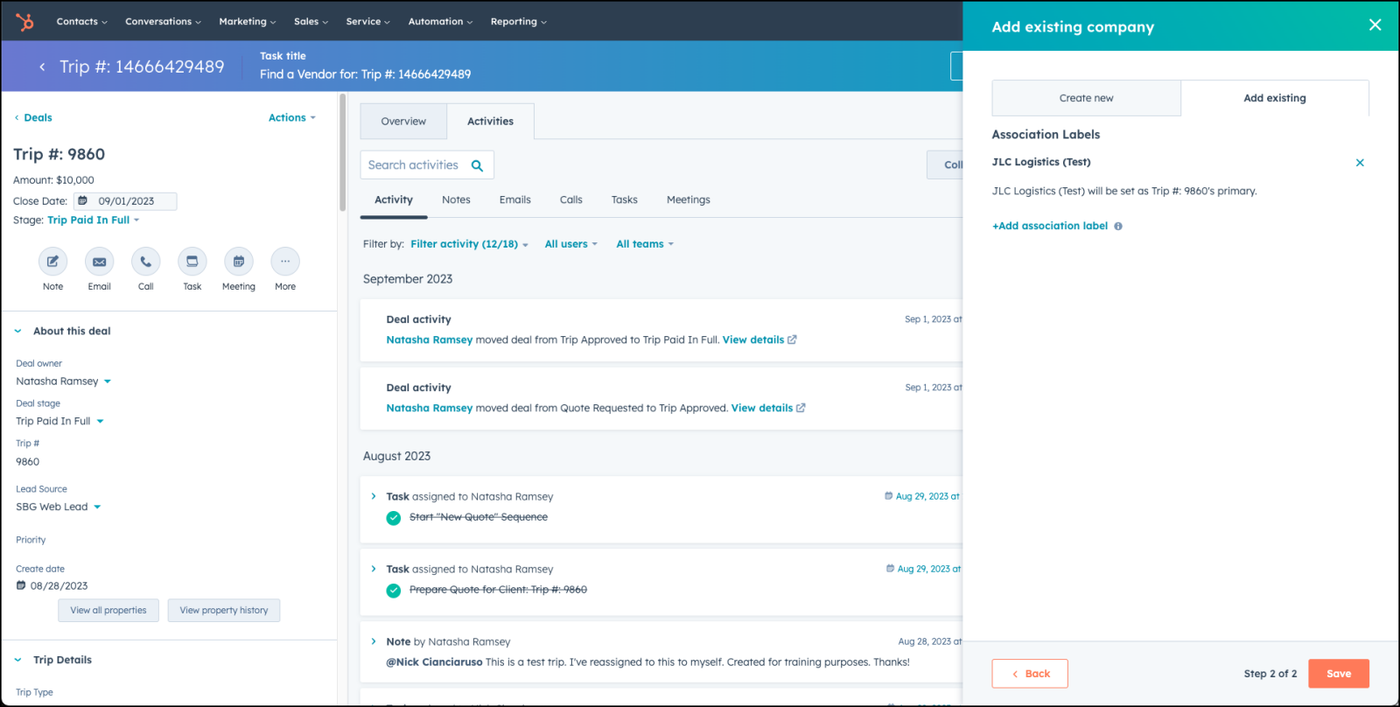
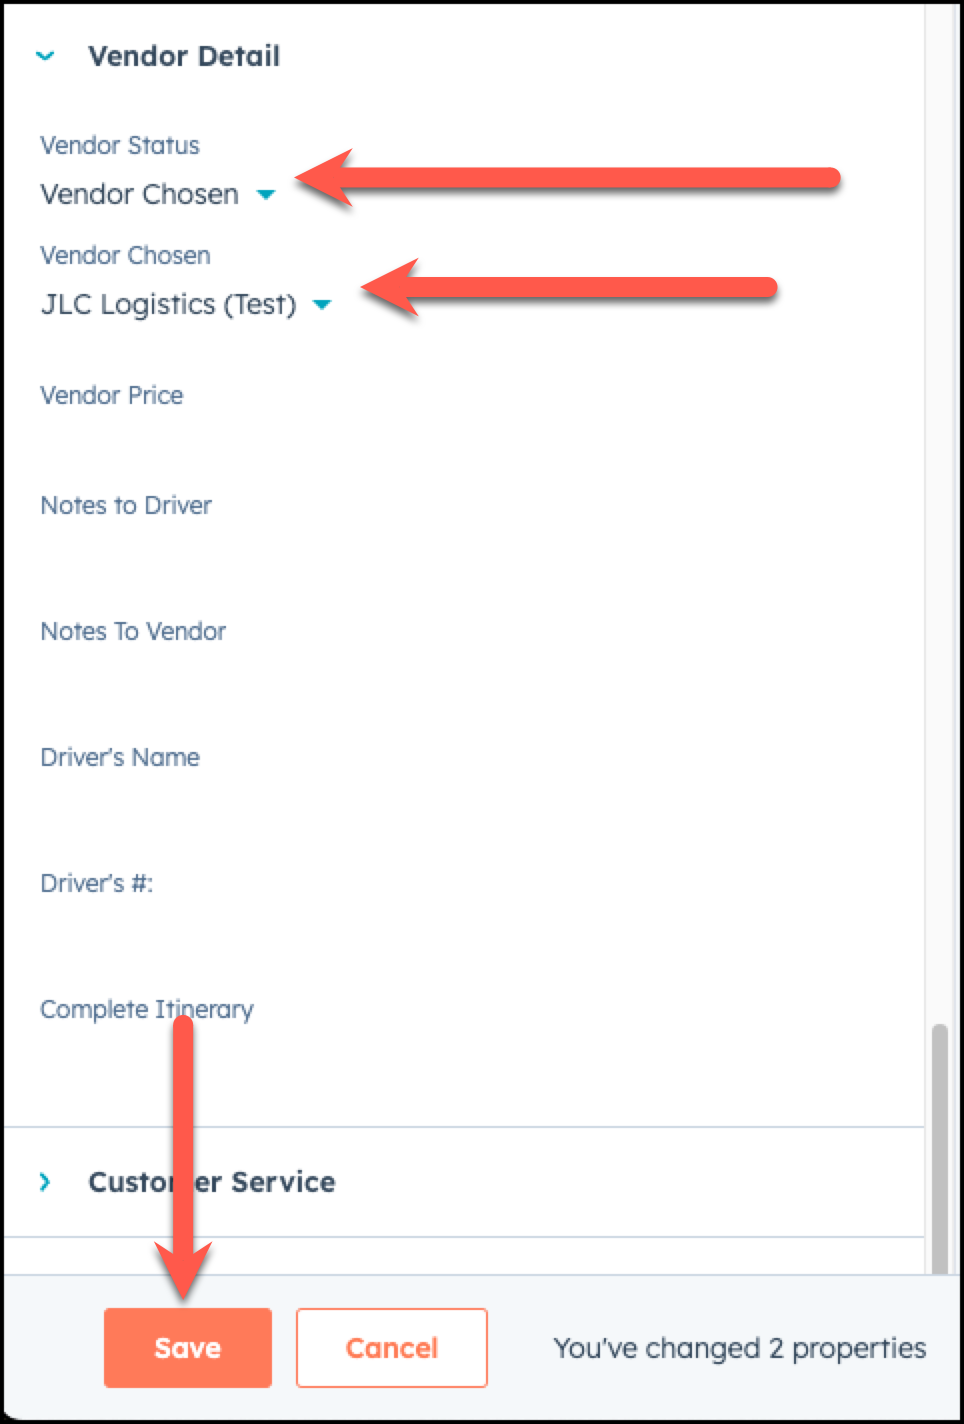
Step 3 - Add the Chosen Vendor in the correct places
Add the chosen vendor in two places in HubSpot - under the vendor detail information in the deal, and as an associated company in the deal. Here's how you do that:
Add a new company under the trip approved deal


Step 4 - Create the Vendors Order
Create the vendor order by adding a new quote, and then choosing the template Vendors Orders. You may also choose to use Driver's Order, if you do not want the vendor amount listed. Publish that quote without esignature, written signature, or stripe. You may learn how to create a vendor's order by reading this article.
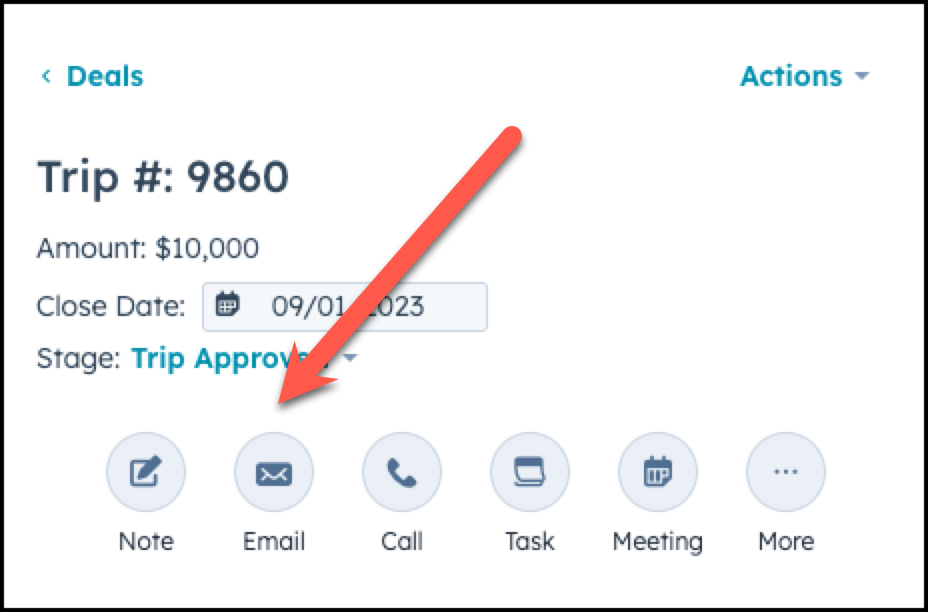
Step 5 -Send Vendor Confirmation Email
Once you have checked the task of Finding a Vendor for the trip as completed, you will recive another task, asking you to send the vendor confirmation email to the vendor.
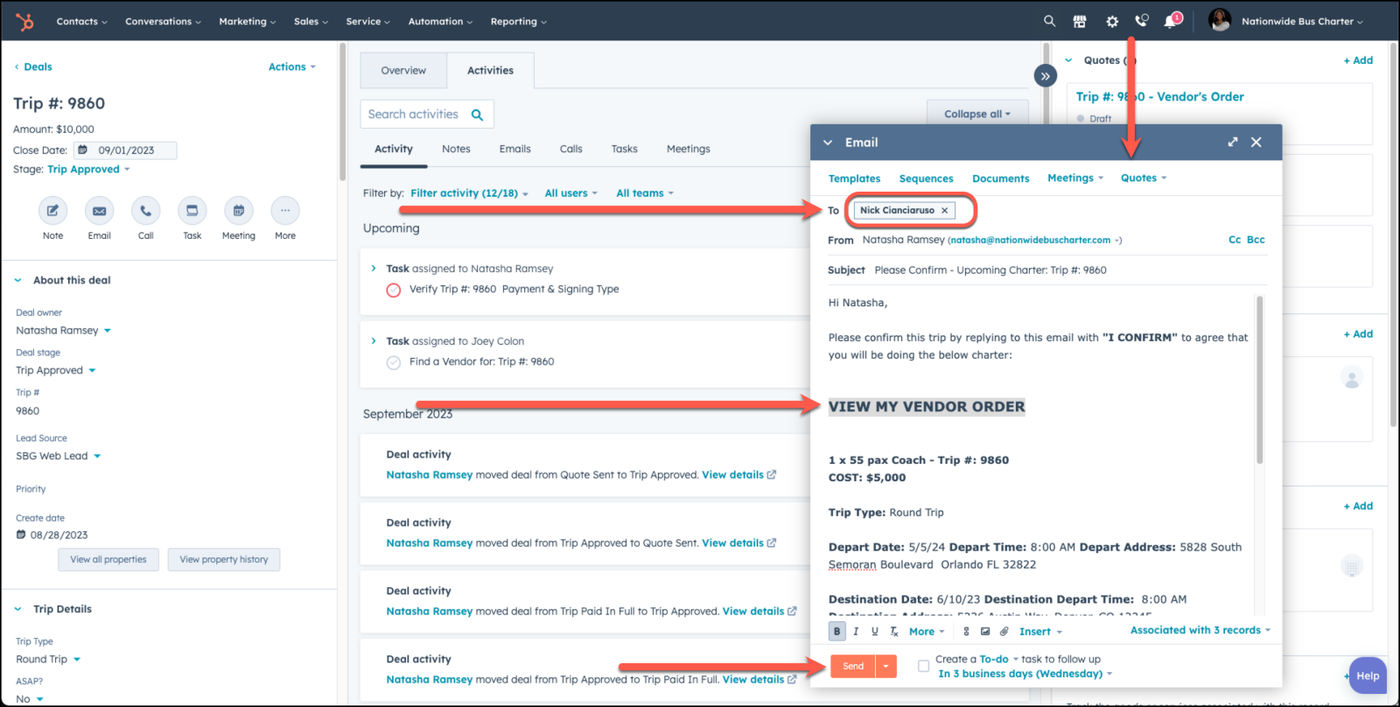
To properly send a vendor confirmation email must be in the deal of choice, and then choose Email.
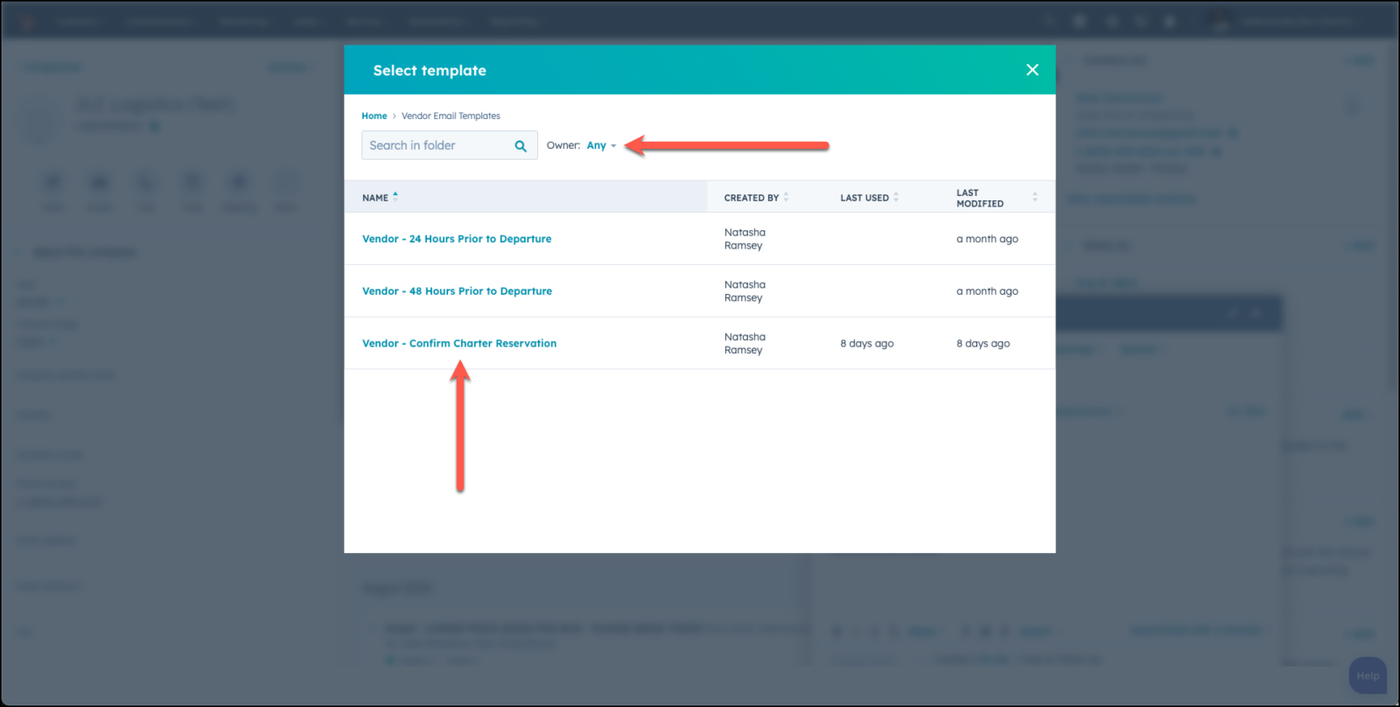
Select templates
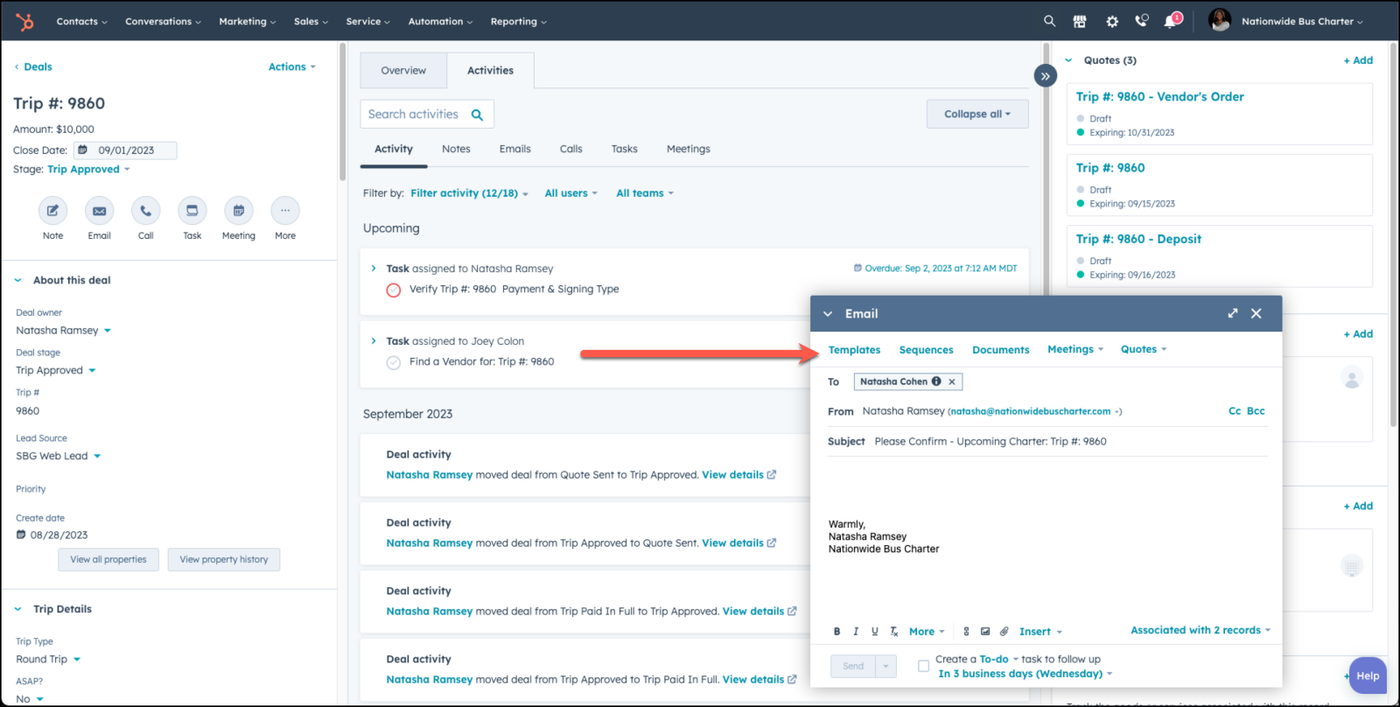
Under Templates, choose the Vendor Email Templates folder, and then choose Vendor Confirmation Email
Update the To field to the name of the associated vendor.

It is very important that you change the To field form the name of your client to the name of the vendor. Failing to do so, will result in the email going directly to the client!
Edit the email template to update the link to the Vendor's Order & choose Send.
Step 6 - Update Vendor Status to Vendor Notified
On the left side of your deal, scroll to the Vendor Detail section and under the Vendor Status option, choose Vendor Notified or Vendor Awarded Job.
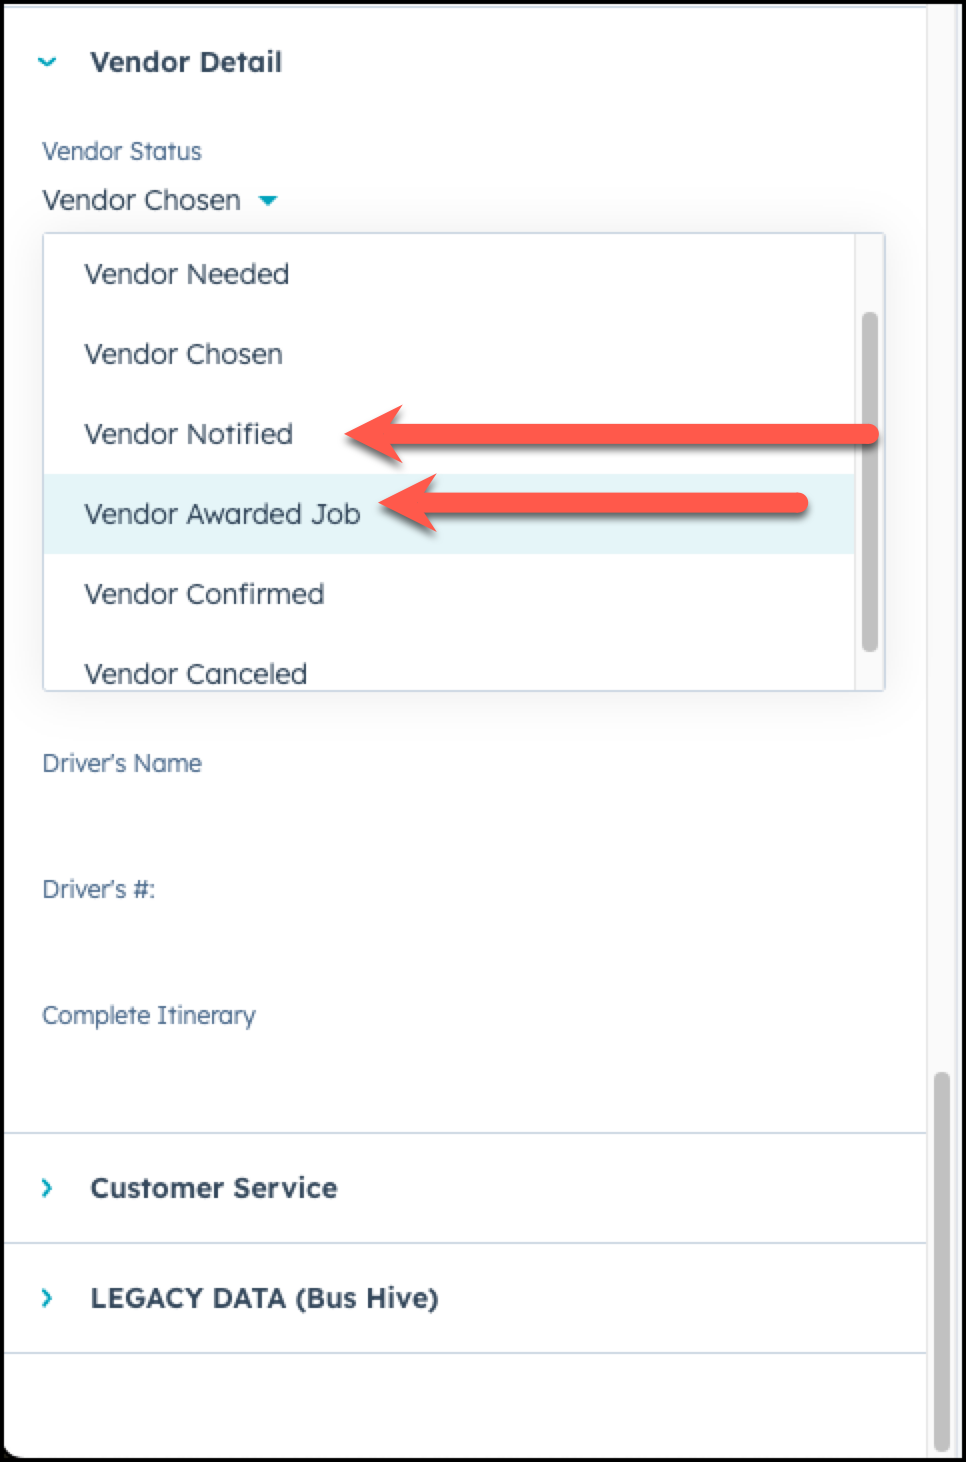
Step 7 - Confirm Vendor has been awarded job
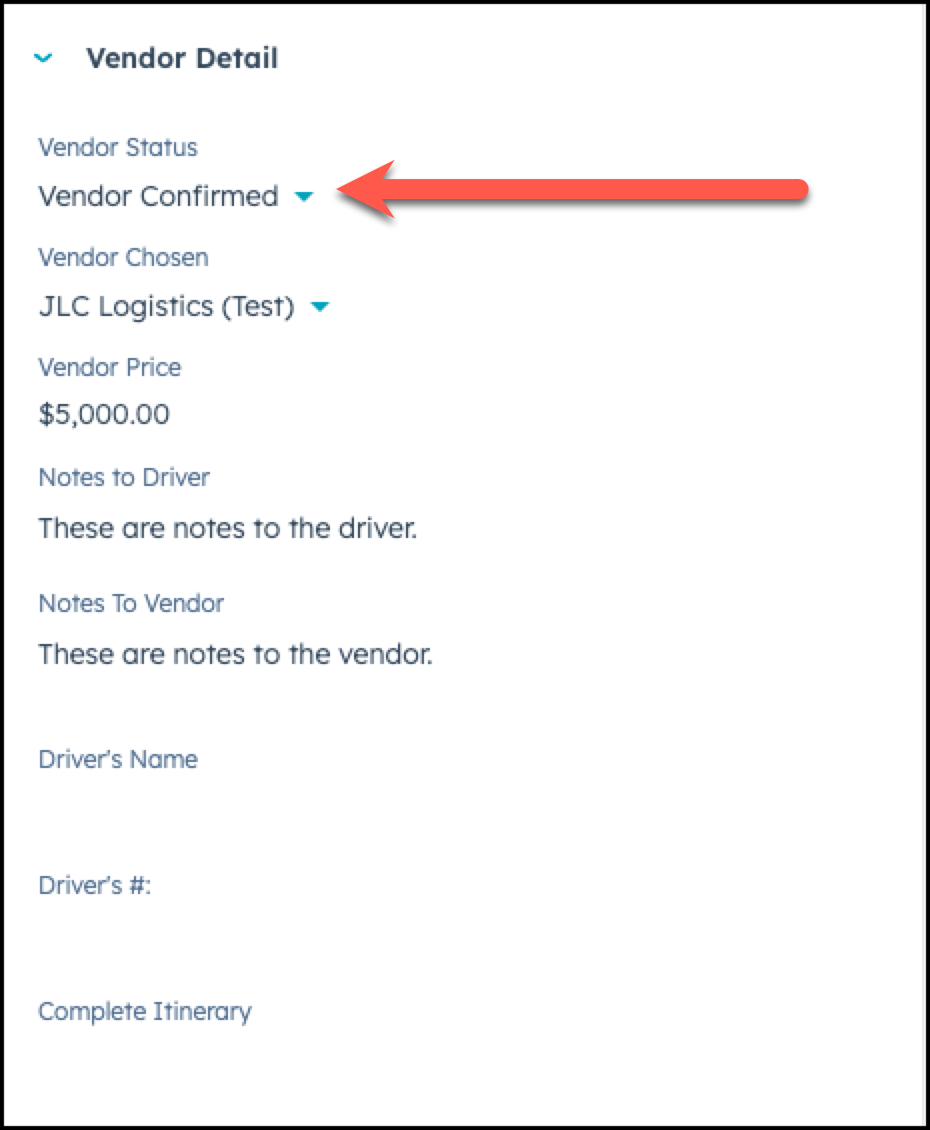
Once you have sent out the email to the vendor, and mark that task as completed, you will be assigned a new task, asking you to confirm that the vendor has been awarded the job. When you receive the email back from the vendor that says "I CONFIRM", you must go under the Vendor Detail section of the deal on the left side, and under the Vendor Status choose Vendor Confirmed. We also encourage you to add a note to the notes section, documenting the vendor confirmed.
Step 8 - Create & Send Driver's Orders
Once you have confirmed that the vendor has been awarded the job, and confirmed, you will receive another task that is assigned to Cassandra to create the driver's orders, and send those, 7 days prior to the trip's pickup date. Learn how to create the driver's order by reading this knowledge base article.
👍
Congratulations! You've successfully confirmed a vendor for a booked trip.
Need Support?
Please visit our Support page and submit a ticket, view knowledge base articles, etc. Or send us an email at helpme@stratfordberkshire.com to open a new ticket.